
Short rows are a way of shaping a knitted garment by working only part of a row, turning around in the middle and working back. It can be used to turn the heel of a sock, to add length in the back of the neck of a sweater knit in the round, to create darts in the bustline, or in the case of diaper soakers, to make more room in the back than in the front to allow for all that diaper room. More information about the uses of short rows can be found here.
In almost every case, the issue with short rows is the hole. If you just turn around in the middle of knitting and add 2 extra rows (back and forward again) then when you come to the place you turned you end up with a nice big ugly hole. Several methods have been invented to deal with this hole.
The most common way of dealing with it is by wrapping. You knit to the place you want to turn around, slip a stitch to the right needle, pull the yarn forward and slip the stitch back to the left needle, thereby wrapping the working yarn around the first unworked stitch. Then when you come back around to knit it, you knit that wrap together with the stitch, which will pull together the hole. There is a video of doing this method here (scroll about half way down). Nona also had a series of posts about several different short row techniques (scroll most of the way down).
The problem with wrapping is that it can leave a bump, or a hole anyway, especially if you pull the wrap too tight. It just seems to be a fiddly way to do it and it causes a lot of people problems, especially with the second (right hand) wrap when knitting in the round.
My personal preference is the yarn over technique. It's very similar to Japanese short rows, but I just don't like to bother fiddling with pins. For those familiar with it, it's also basically what the wooly wonder forums calls the unwrapped technique. But again, I don't like fiddling with wrapping and then unwrapping the stitch, when wrapping around the needle (yarn over) produces the same result with less effort.
So here's how I do it. You can click on the pictures to enlarge them if you wish.

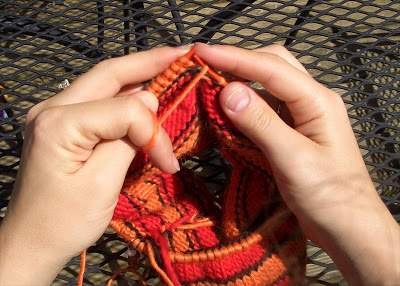
Turn knitting around

Wrap the yarn around the right needle
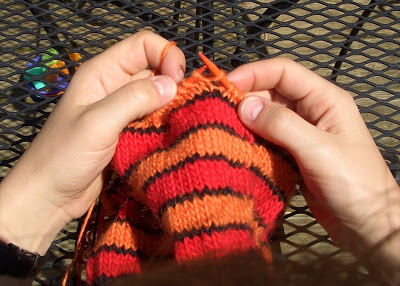
Purl your way back to the next turning point
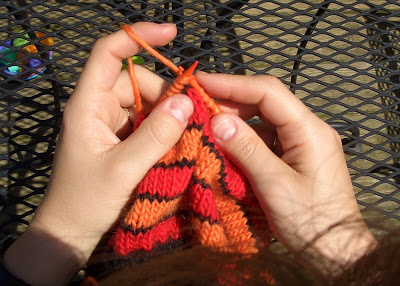
Turn knitting around to the right side and wrap the yarn around the right needle again

Continue knitting as normal until you come to the first yarn over
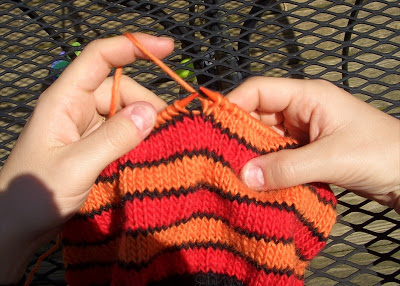
Knit 2 together (the yarn over with the first unworked stitch on the other side of the gap).
The yarn over should fall behind the other stitch and close the gap.
Knit around until you come to the stitch before the second gap.
(This is the right hand side of the short row).
Slip the next stitch knitwise... 


and the insert the left needle into both stitches and knit them together (this is an SSK).
This will close the gap and place the yarn over behind the stitch.

Voila! You've worked a short row!

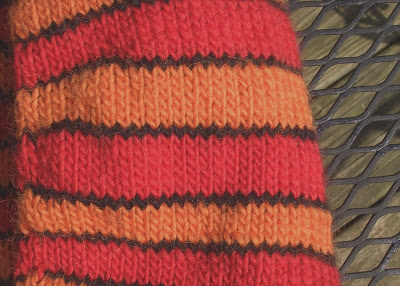
You can see where they are because of the change in the stripe pattern, but they are virtually invisible in the finished work unless you examine the stitch definition very closely.
I hope that helps some of you figure out short rows!